.png)
Why use File Sharing
The File Sharing tool allows participants to upload and access documents, images, and other resources directly within a session or room. It keeps everything connected to the discussion, eliminating the need to switch between apps or search for shared links later.
Use File Sharing to:
-
Share resources instantly: Upload lesson materials, presentations, or reference files in real time.
-
Keep everything in one place: Store shared files alongside meeting notes, recordings, and transcripts.
-
Simplify collaboration: Ensure everyone has the same materials without relying on external links or email attachments.
-
Access later: Revisit shared files anytime through the session or room history.
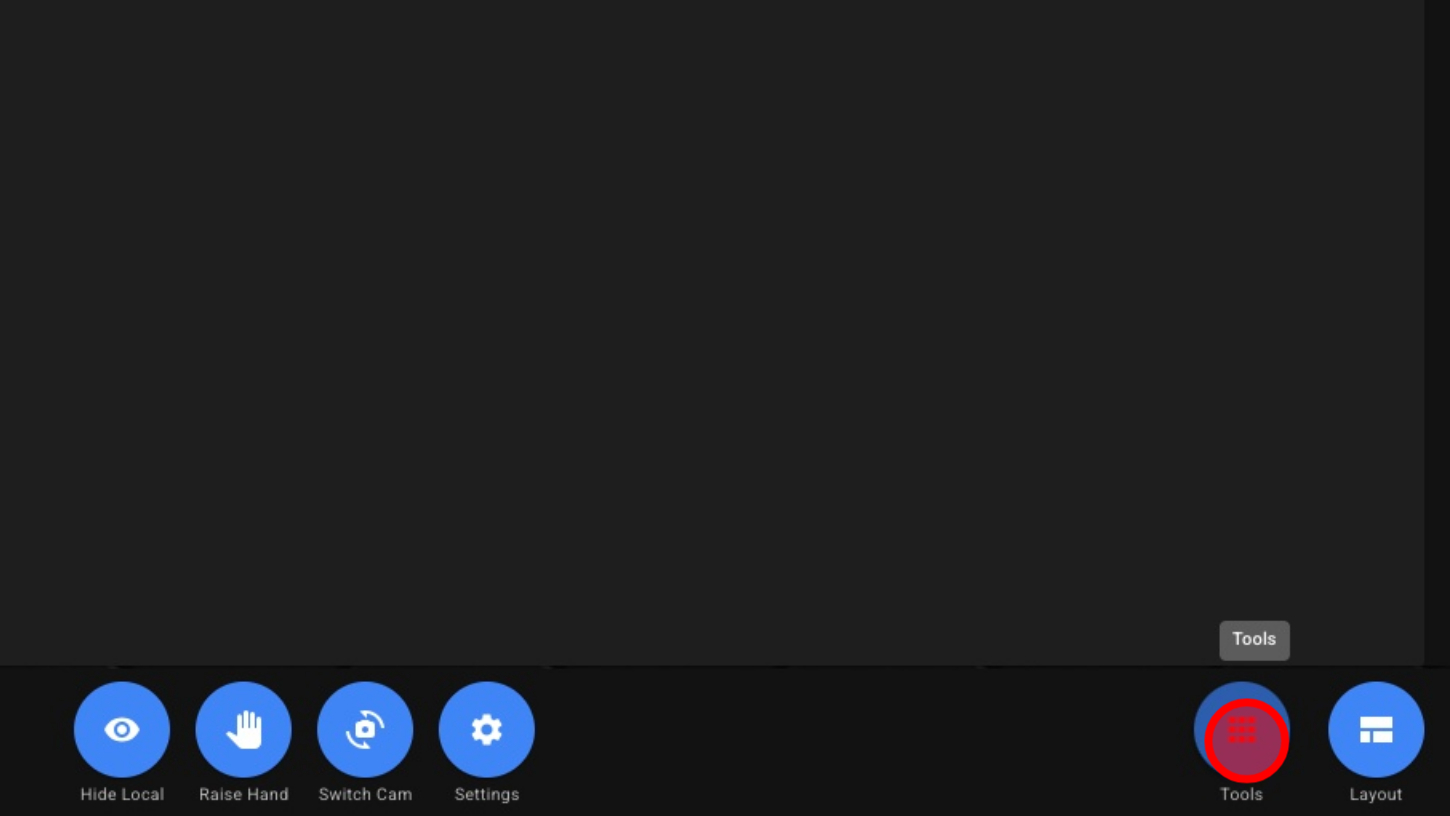
1. Open Tools
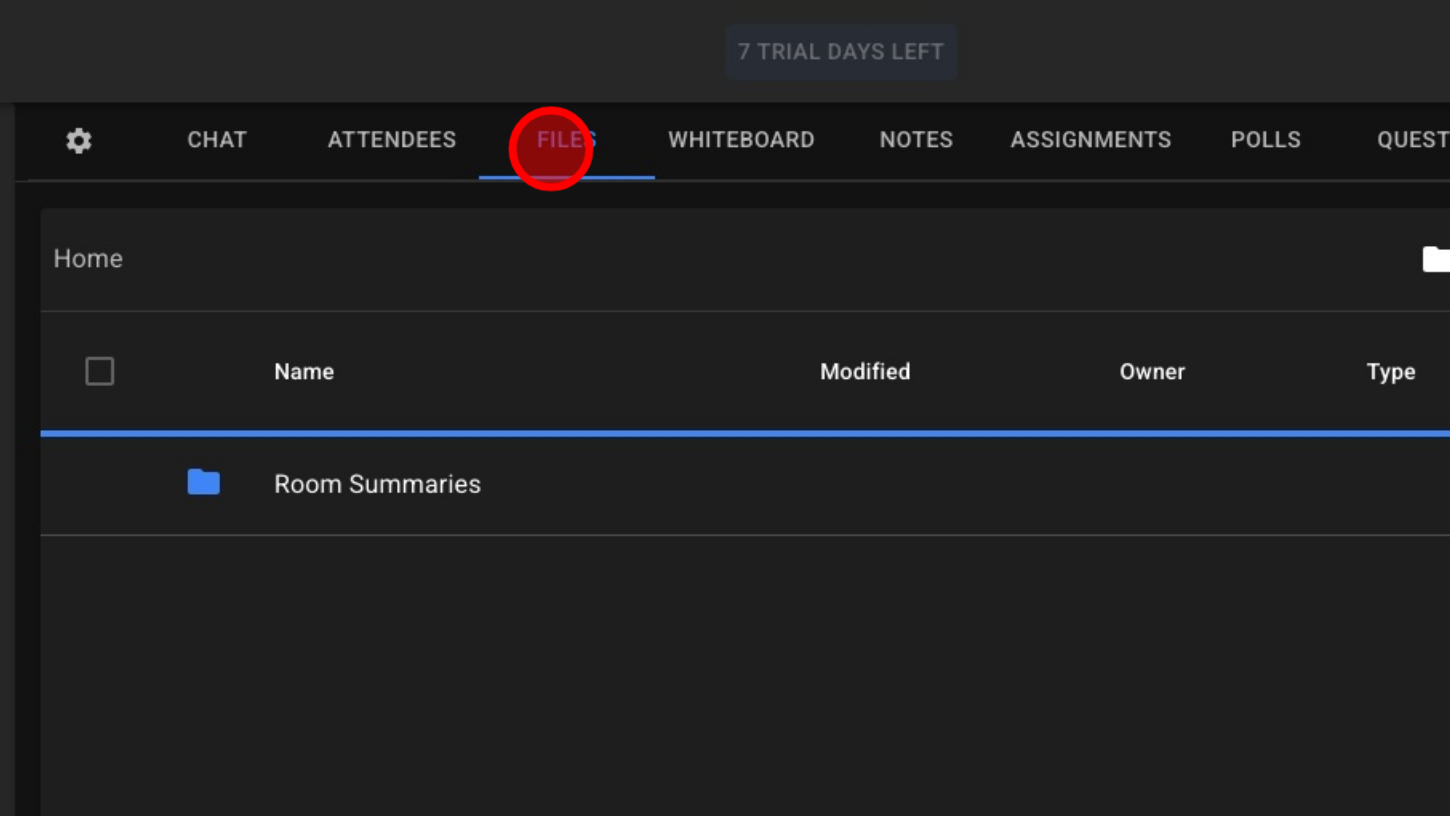
2. Click “Files”
3. Show All Files Or Show Only Room Files

4. Filter Files By Type
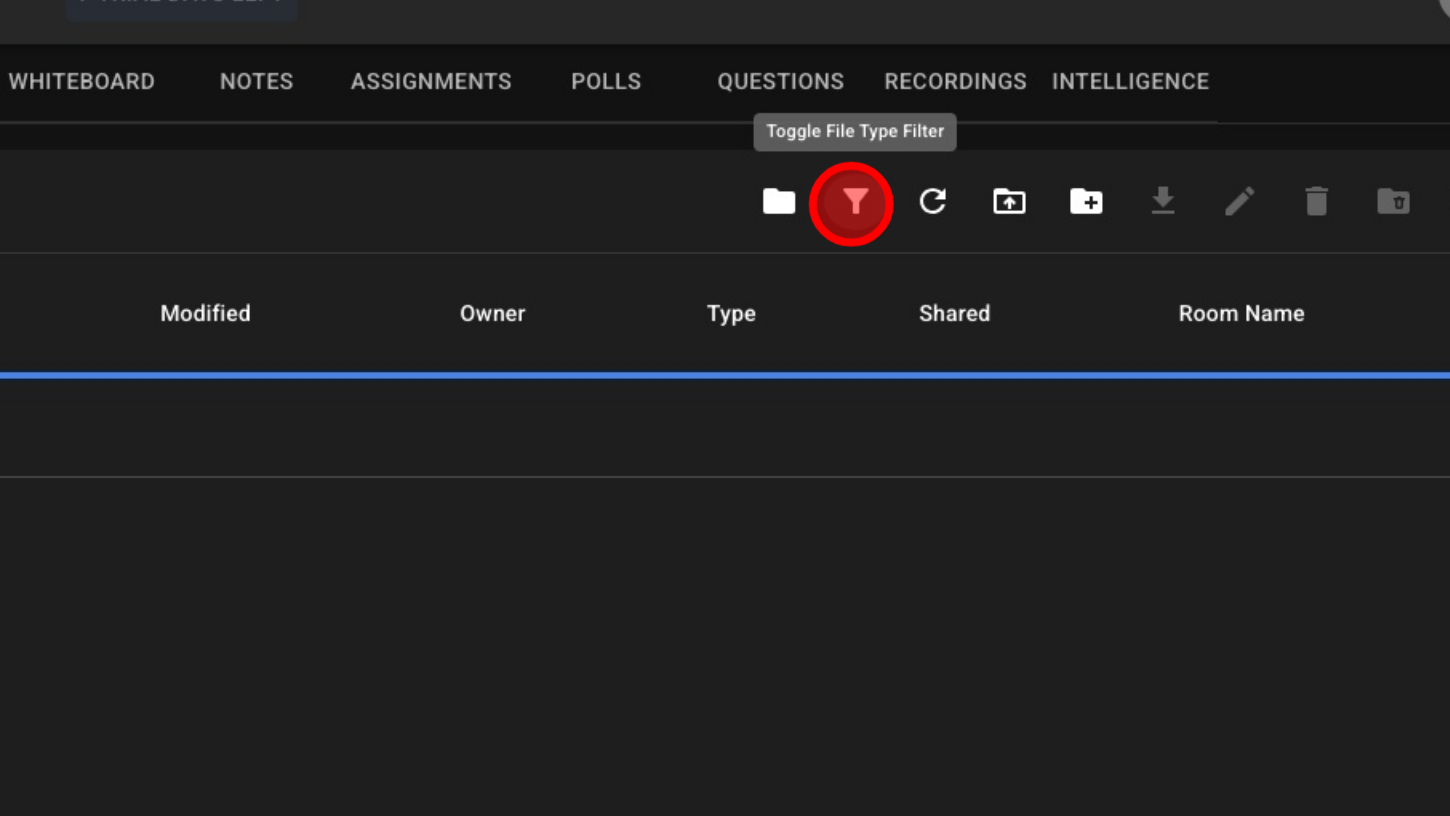
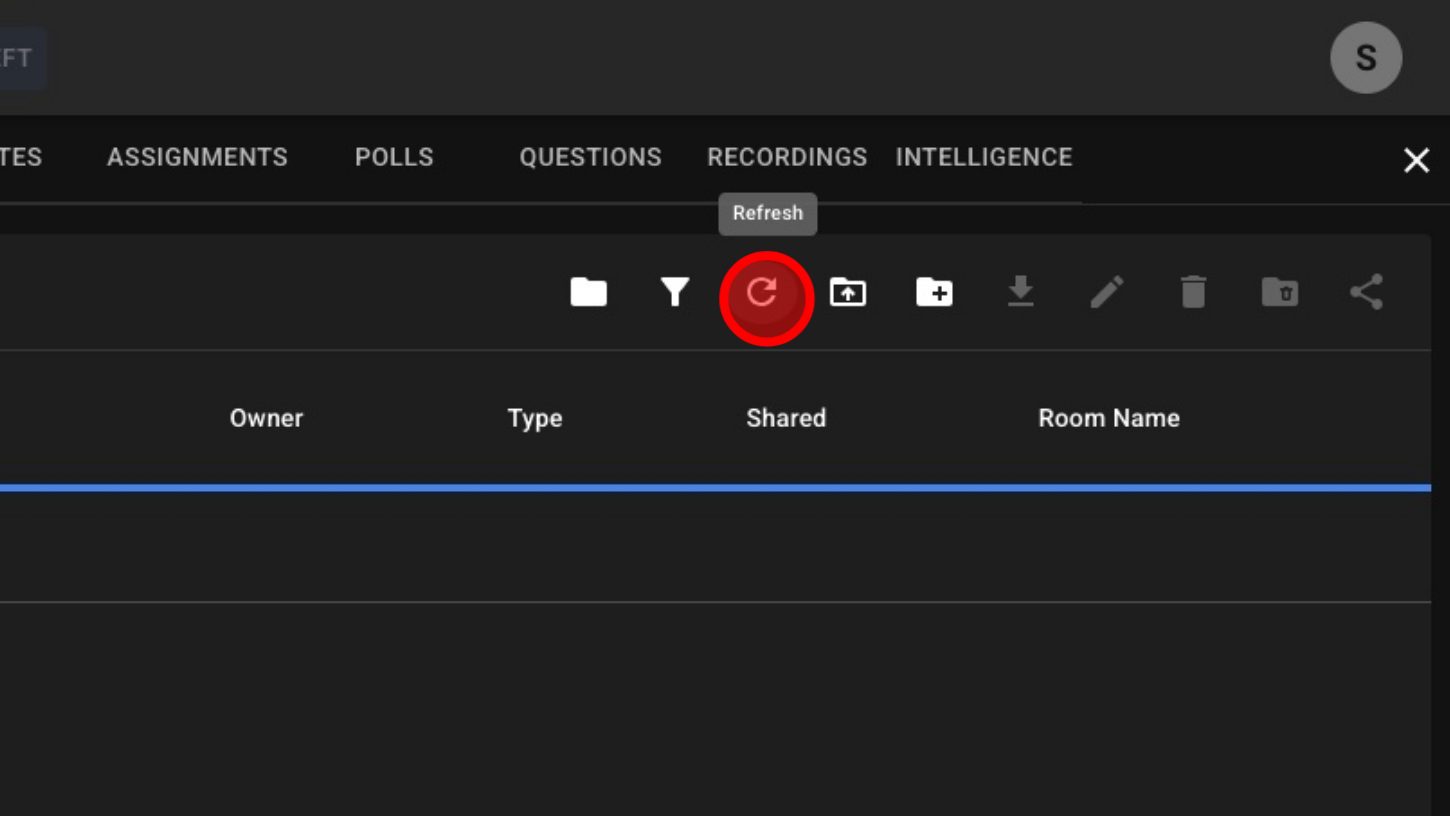
5. Reload Files
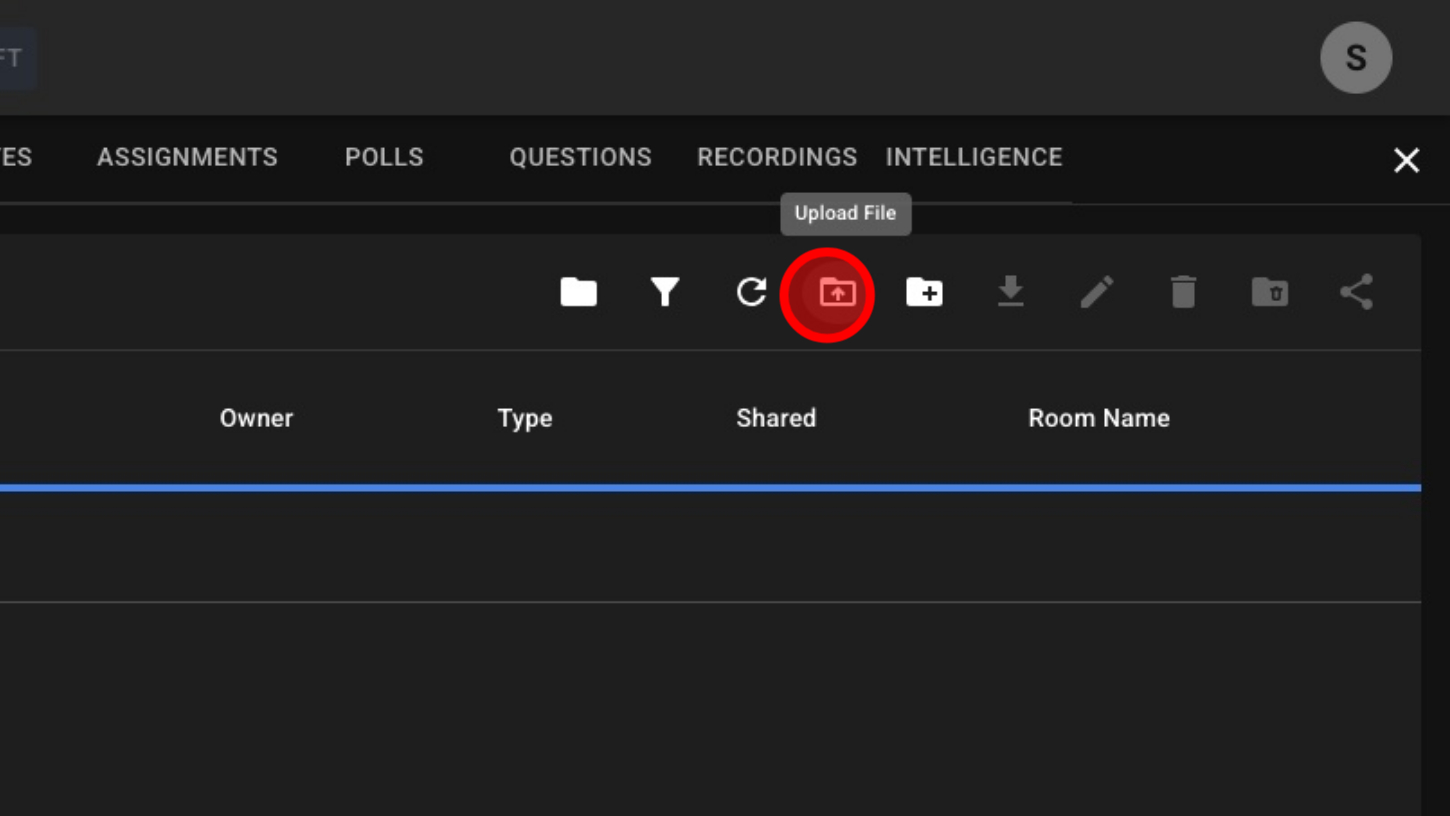
6. Upload Files
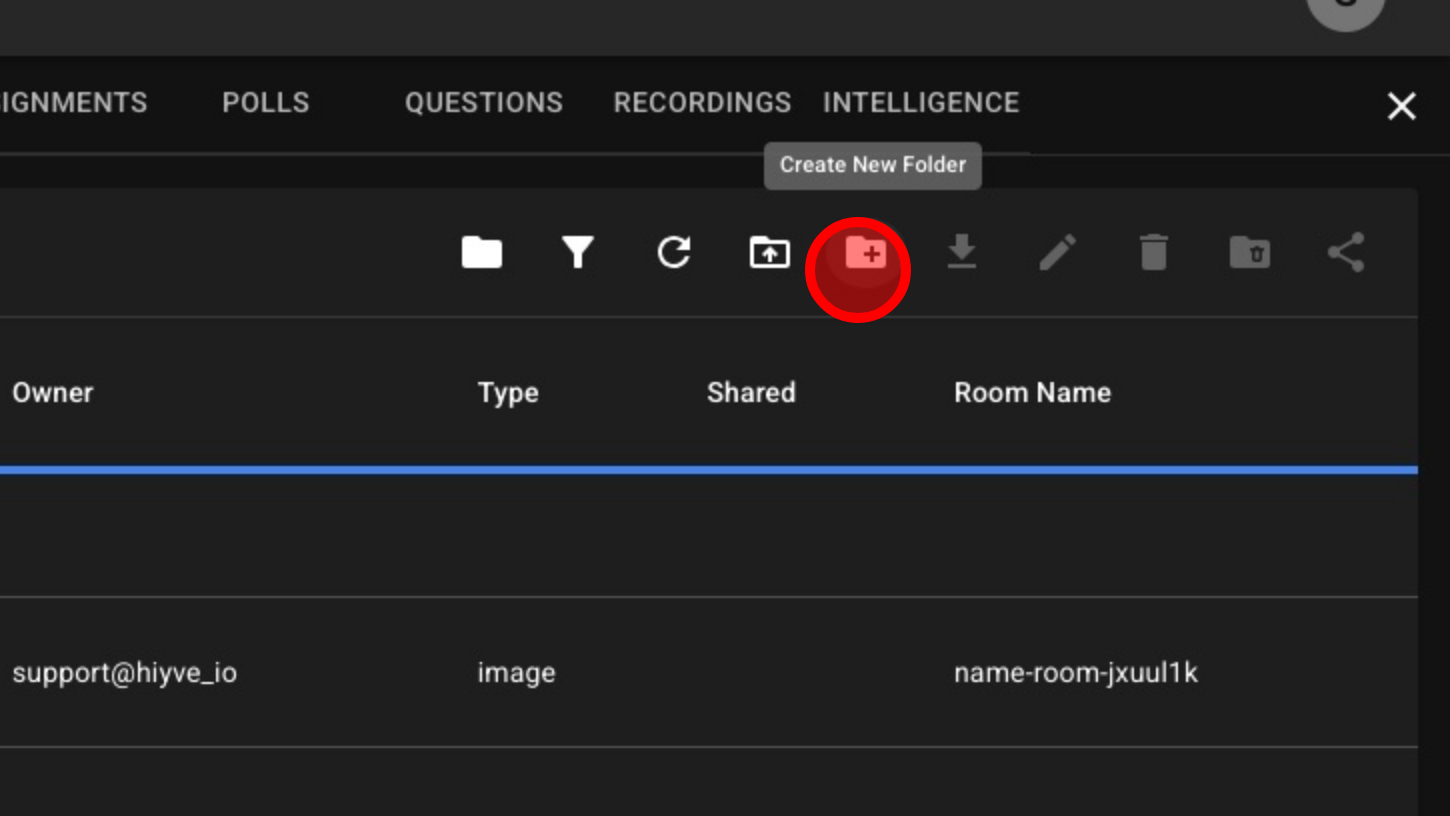
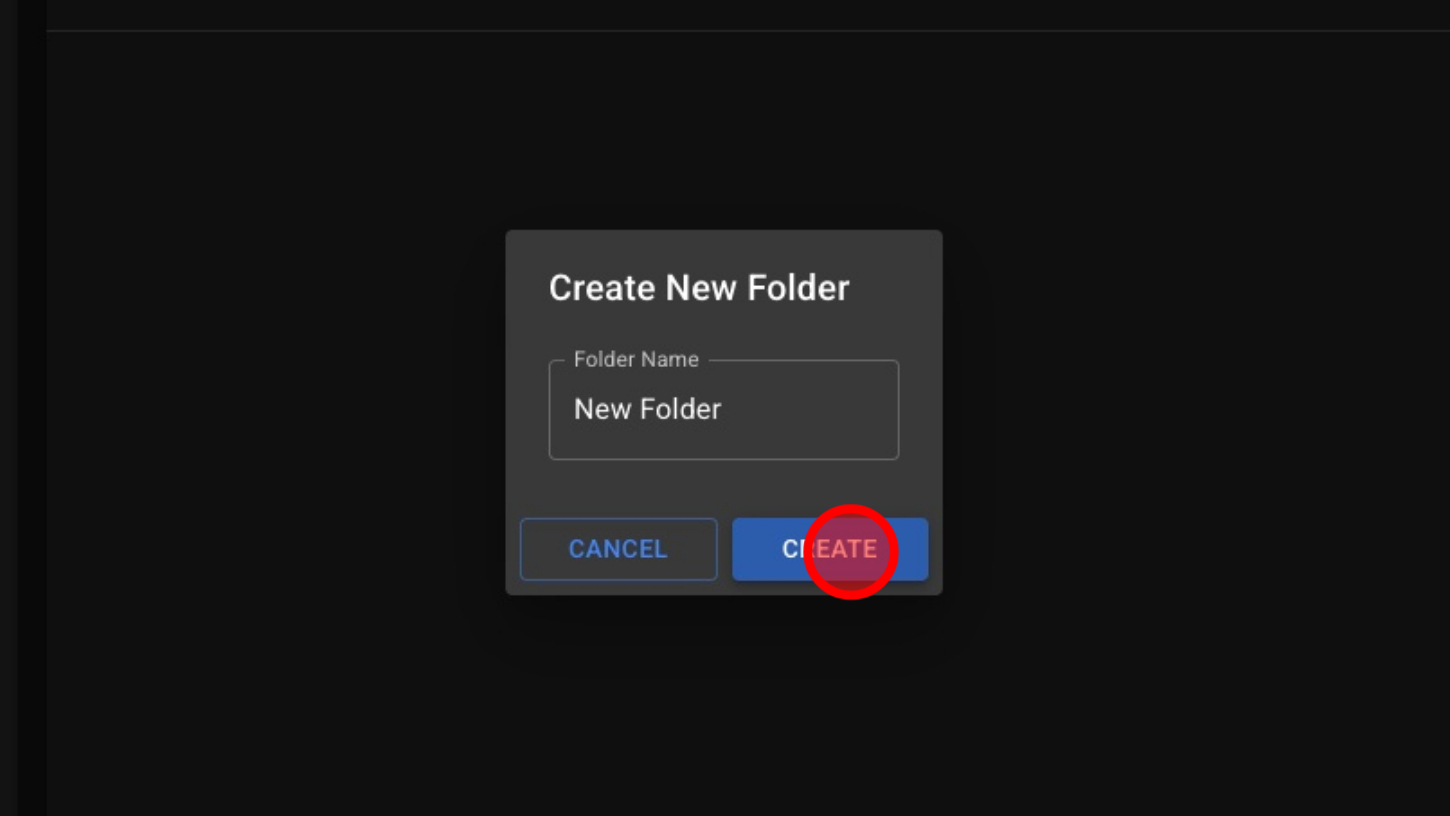
7. Create New Folder
8. Name The Folder
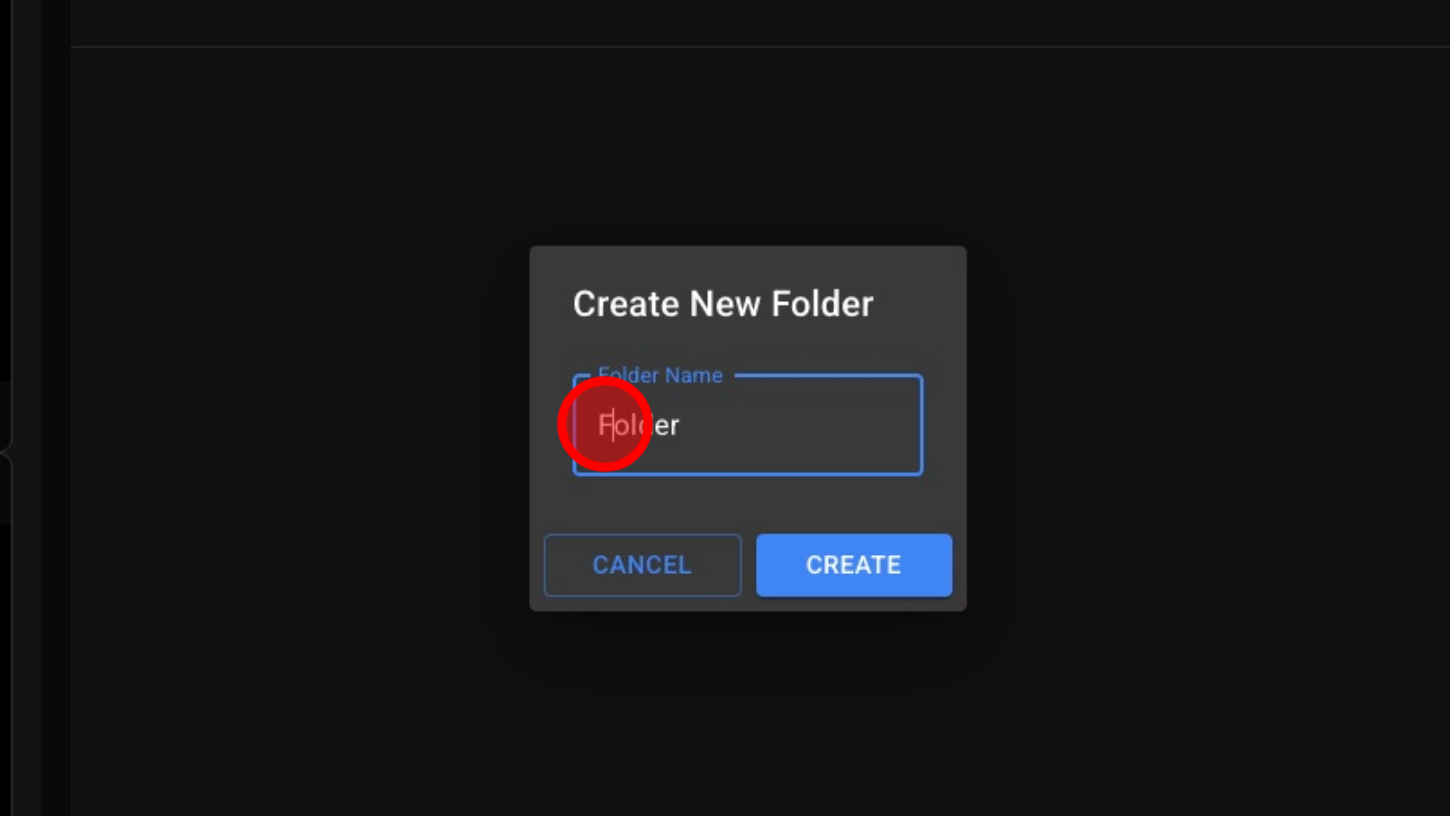
9. Click “Create” To Generate A New Folder
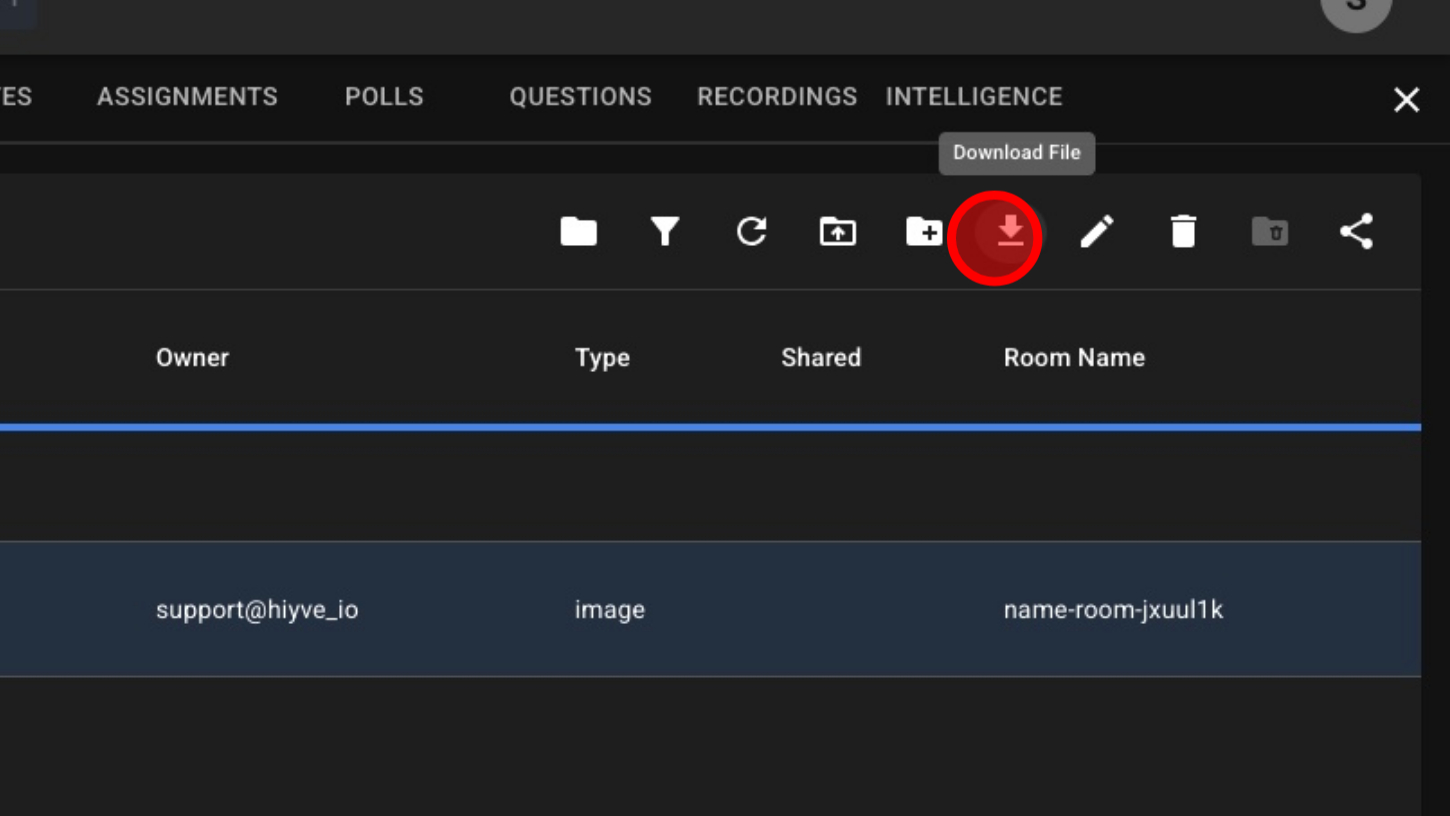
10. Select The File And Click Download File
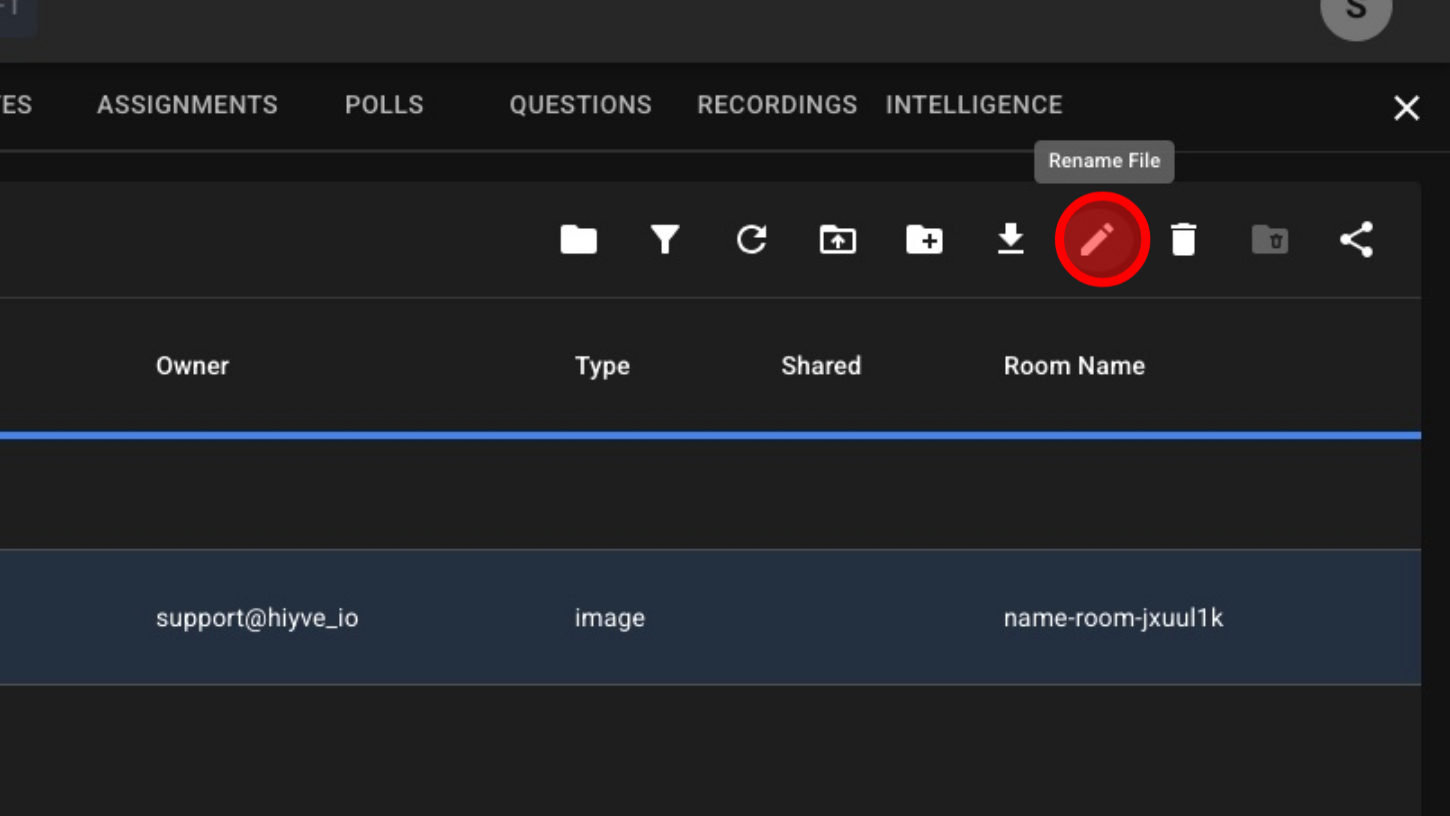
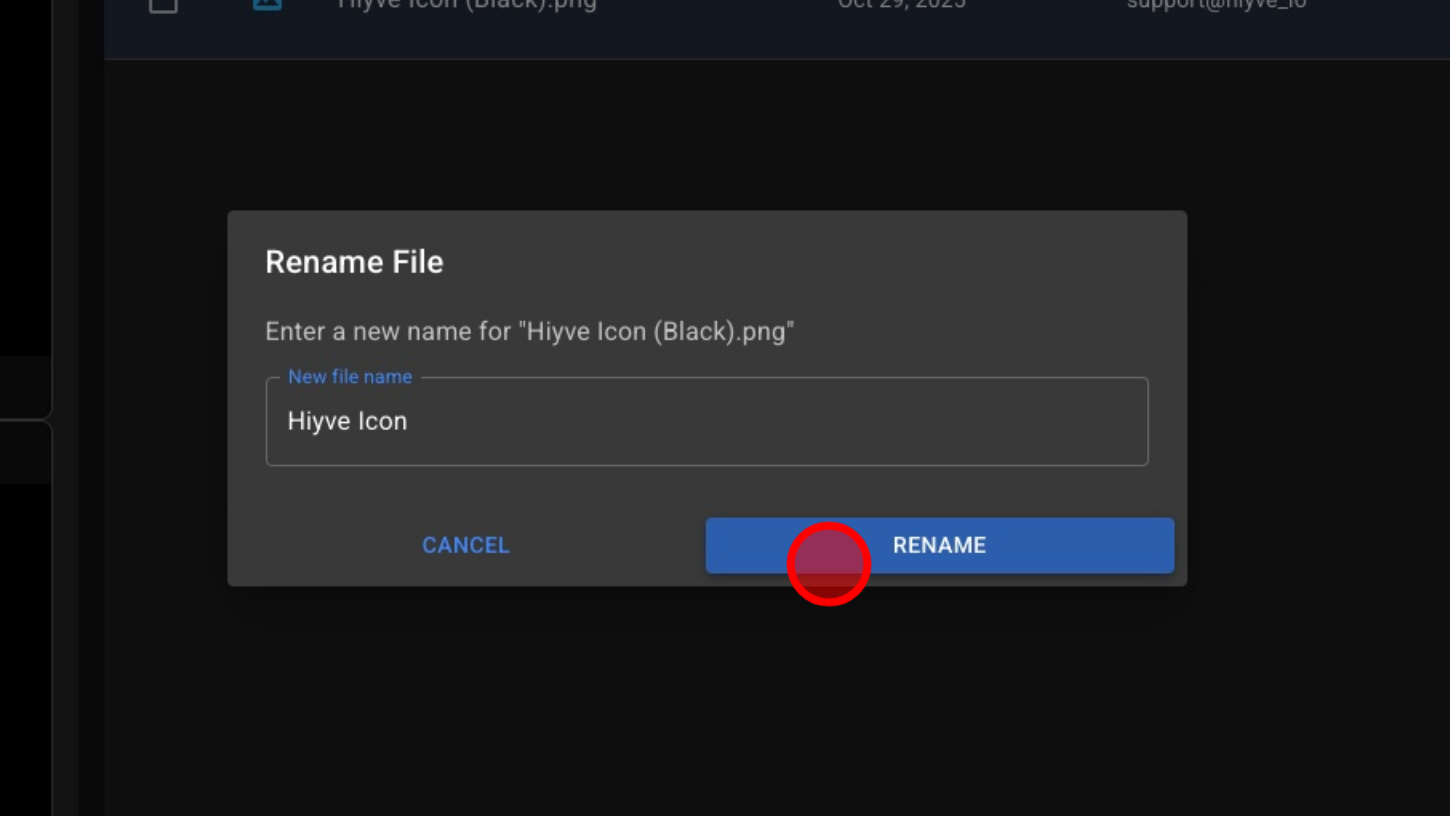
11. Rename File
12. Enter a New Name
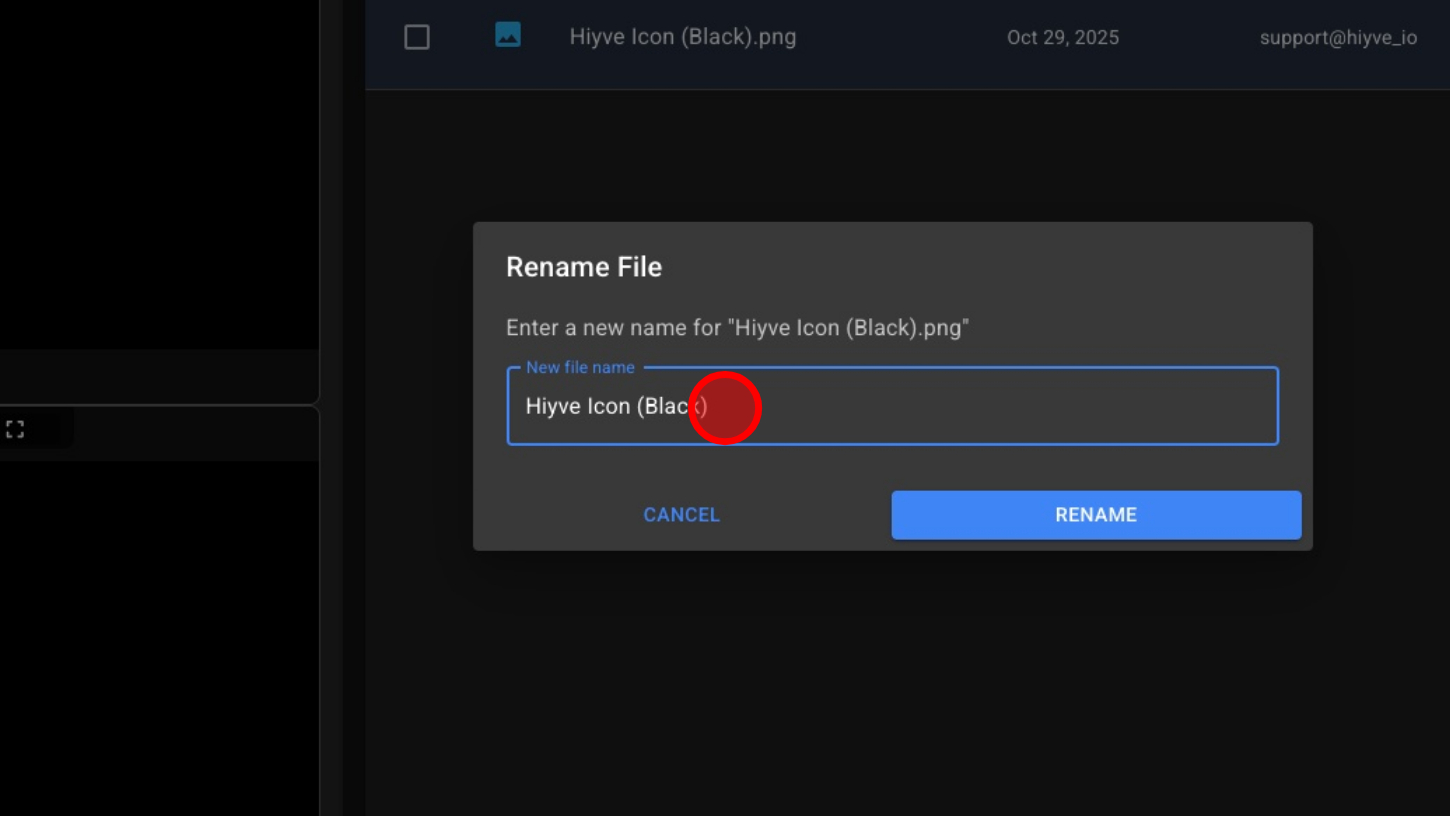
13. Click “Rename”
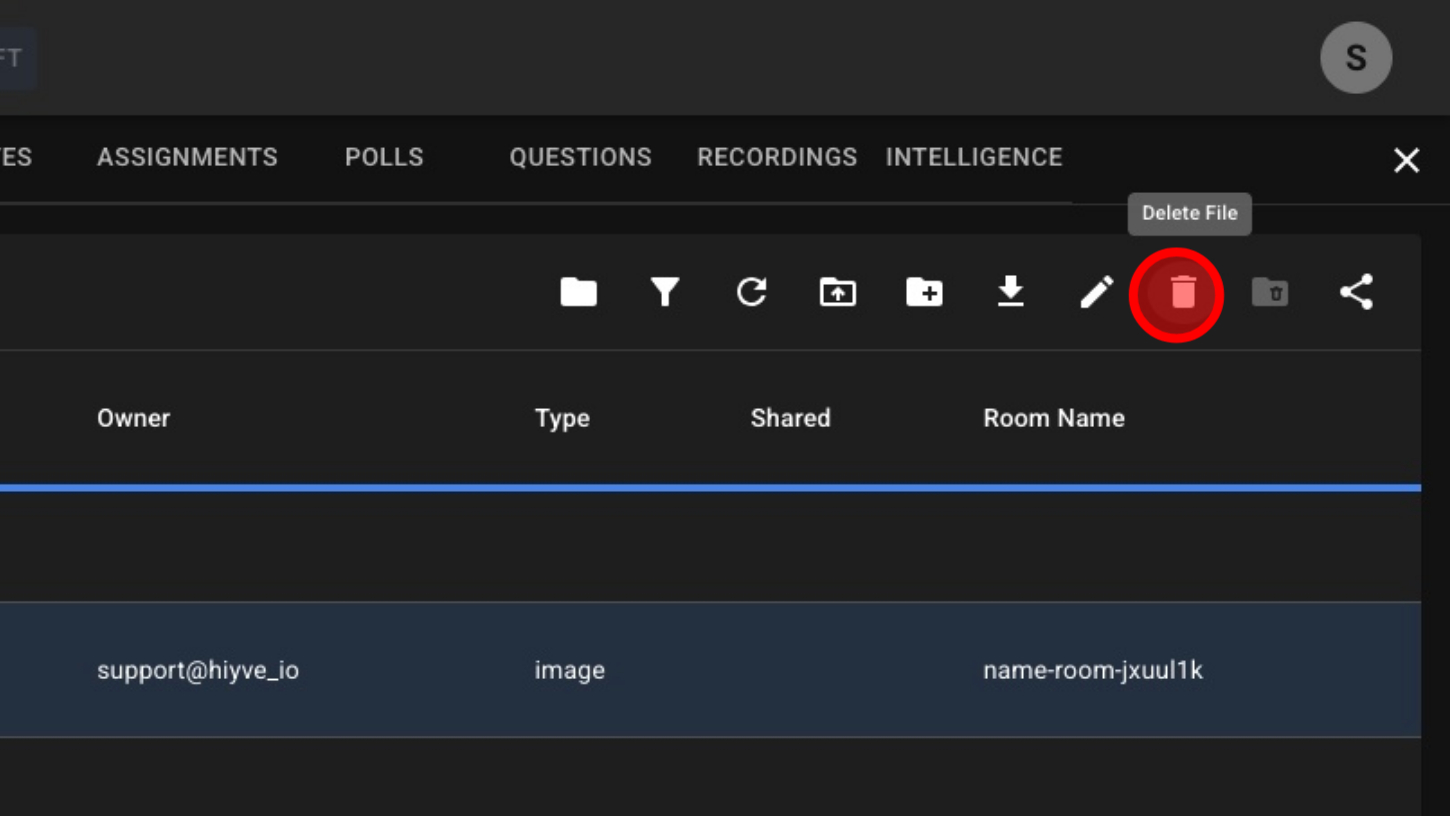
14. Select A File - Then Click “Delete File”
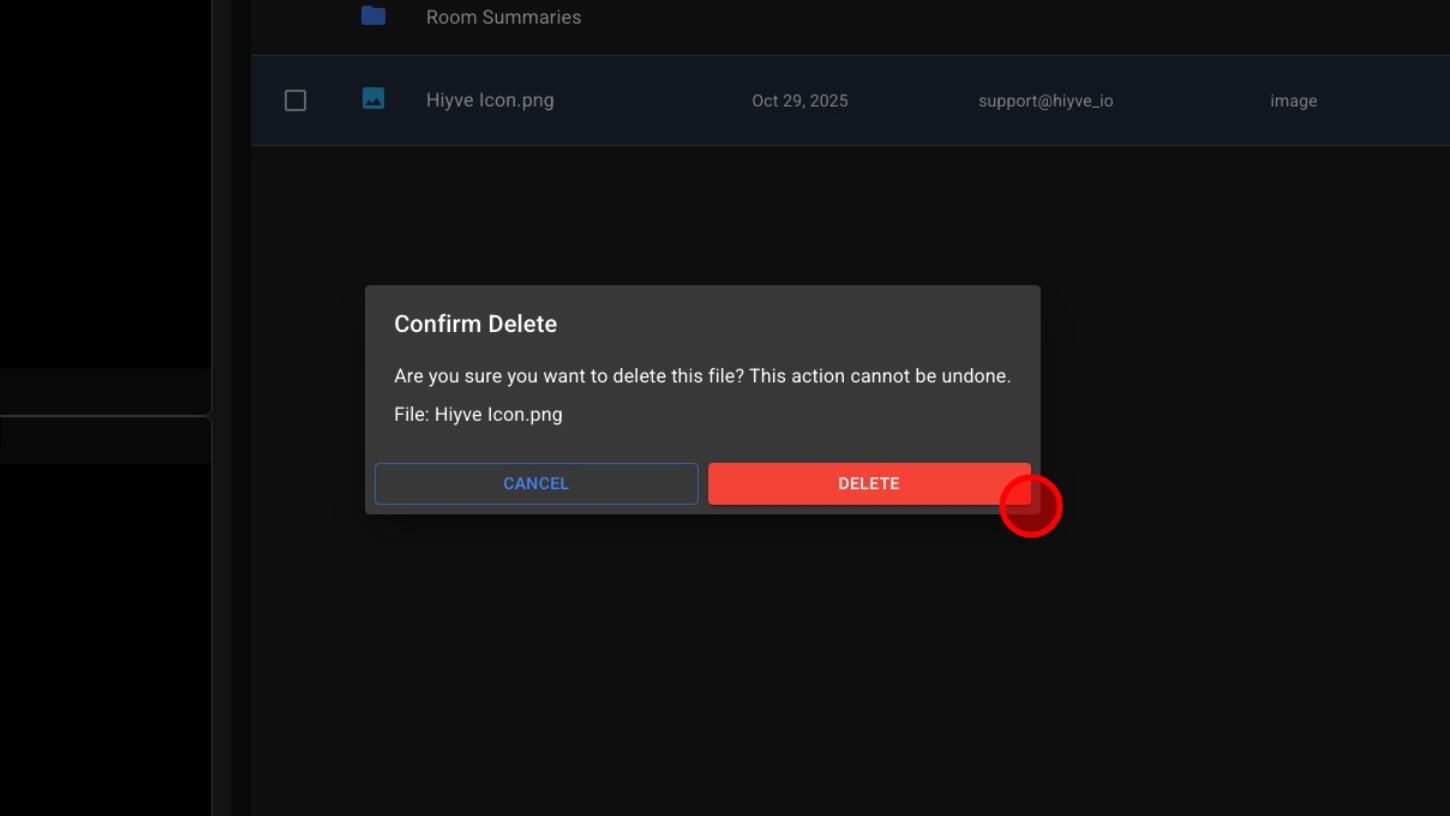
15. Click “Delete”
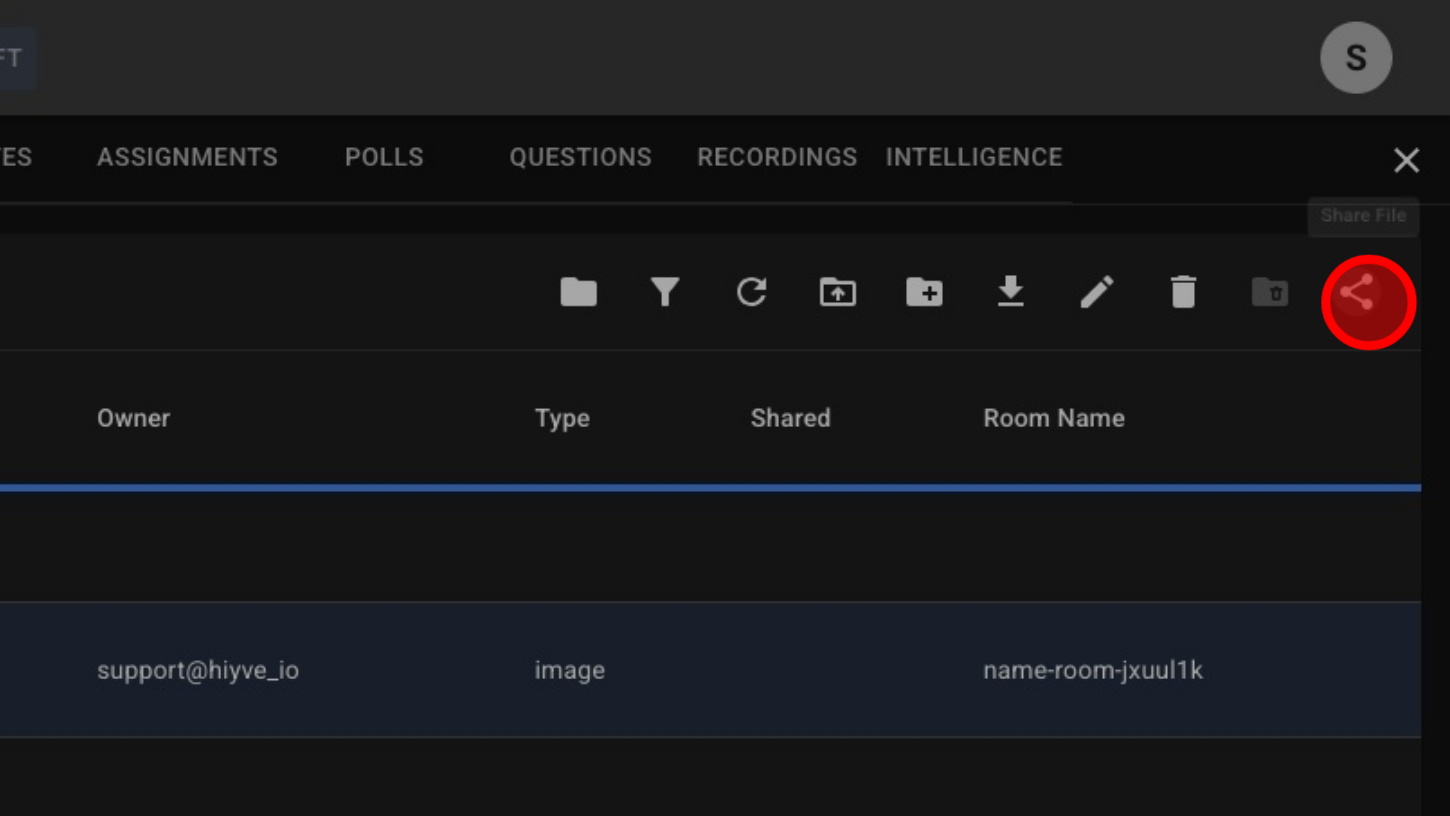
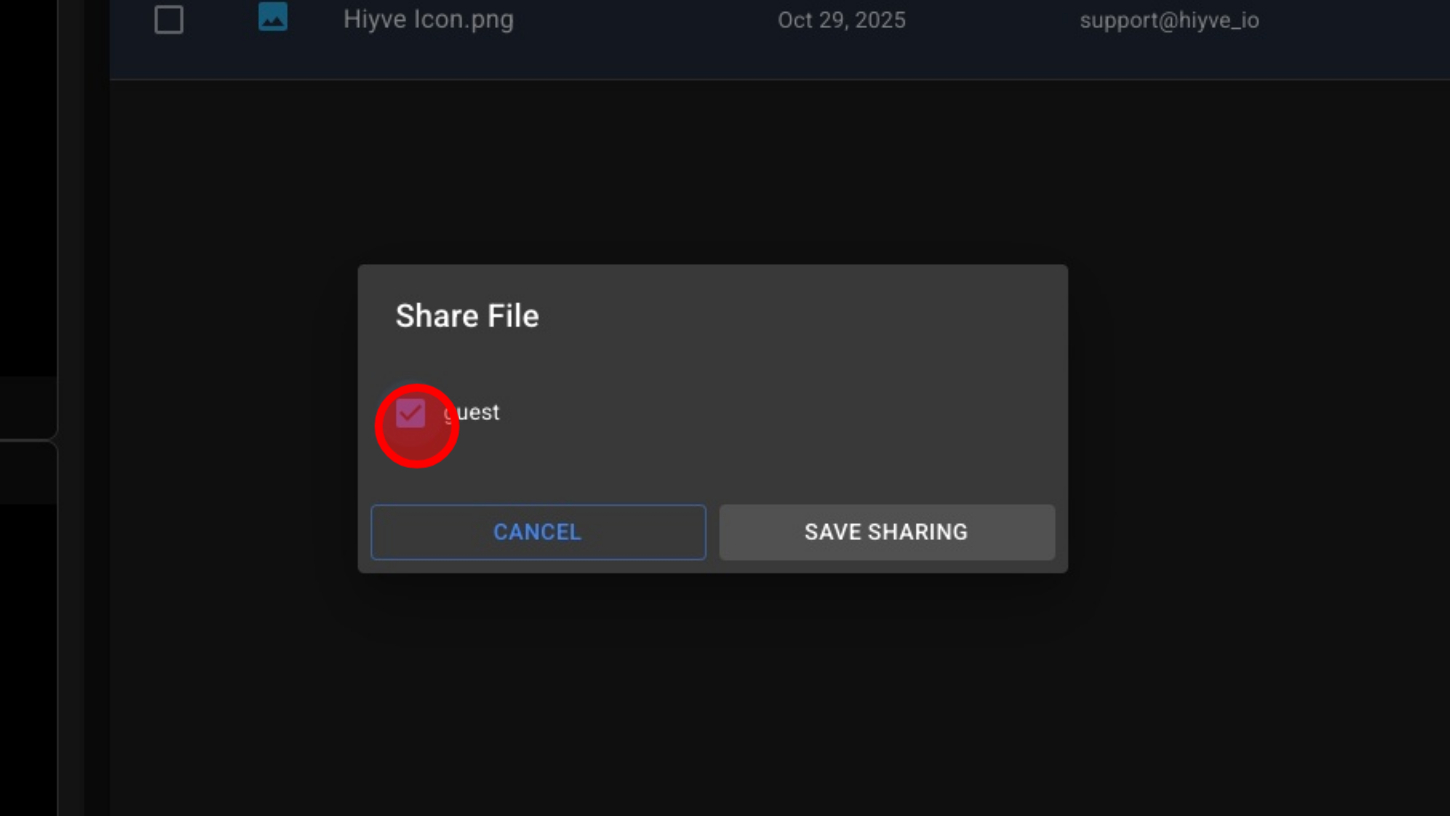
16. Select A File And Click Share File
17. Select Guests To Share With
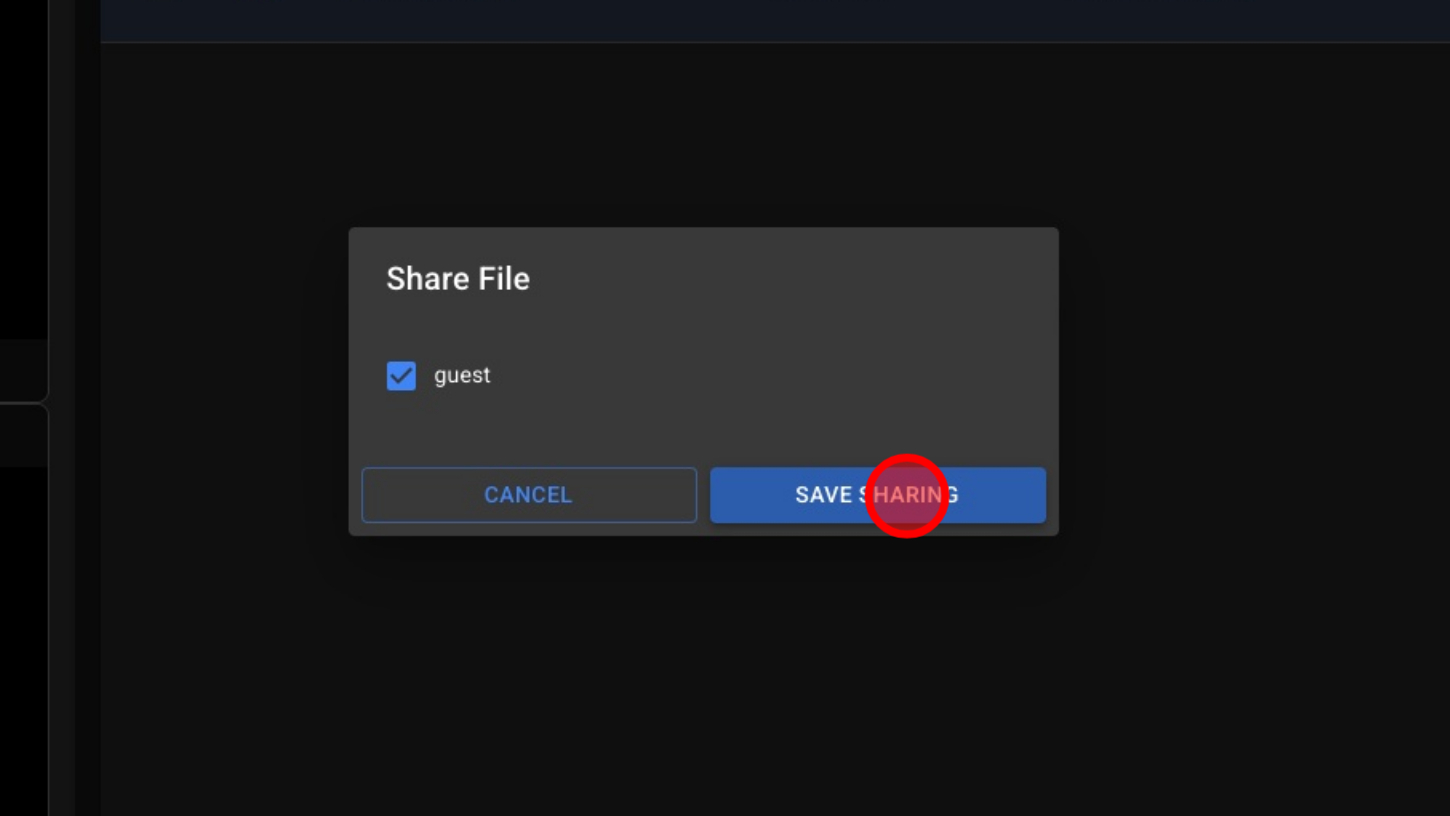
18. Click “Save Sharing”
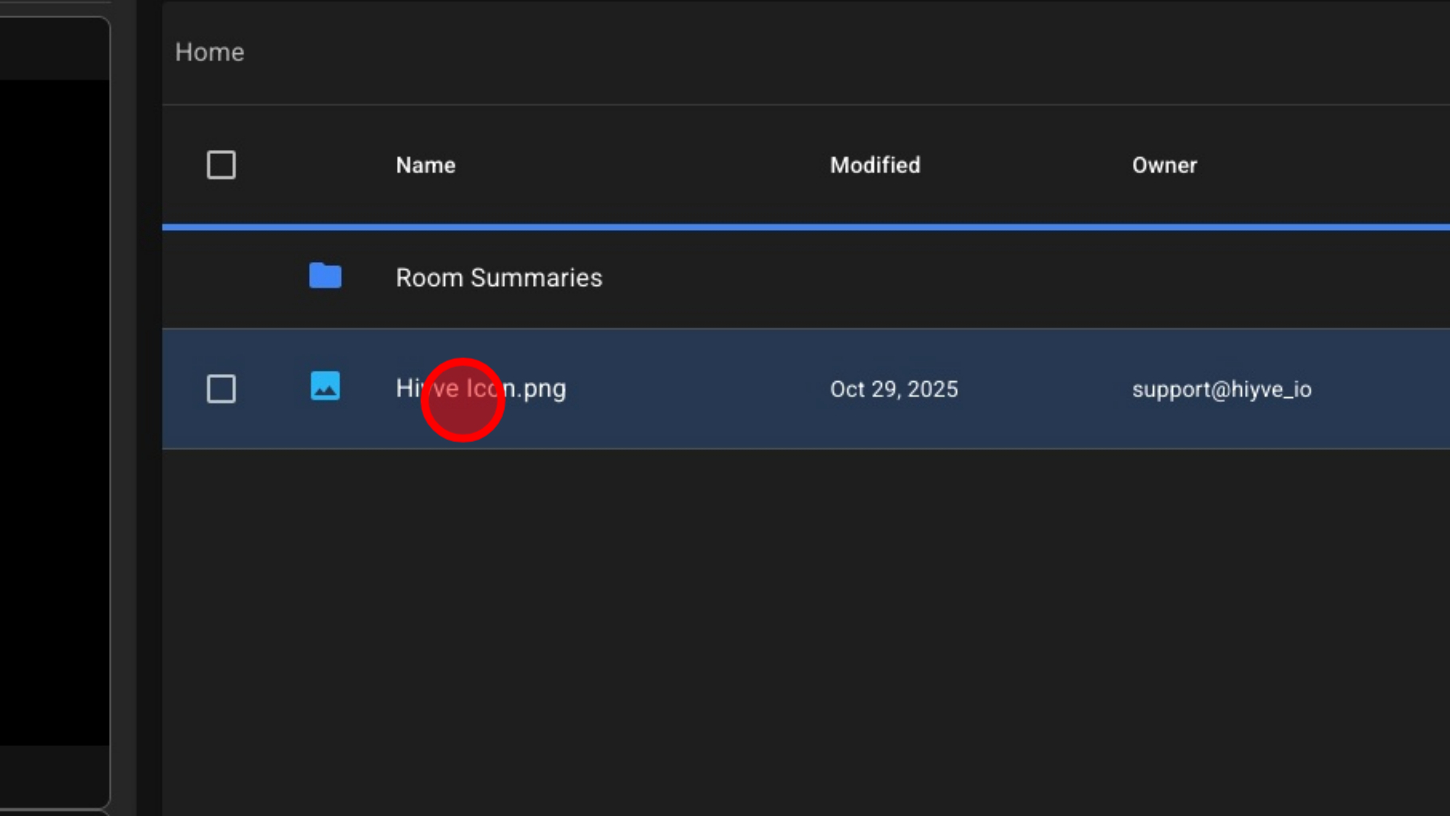
19. Double Click To Open File
20. View Image / Close Image